Pumpkin Nut Butter Cups
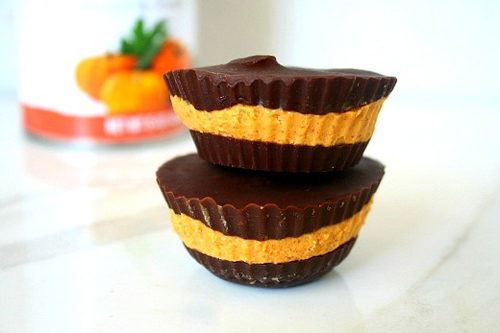
Pumpkin Nut Butter Cups Recipe photo
Pumpkin Nut Butter Cups Recipe
photo by recipe author

Servings: 10 -12
Preparation Time: 30 minutes

For the pumpkin filling:

For the chocolate topping:

Prepare the pumpkin filling:

1. Put all ingredients for the pumpkin filling in a medium sized bowl and mix until well combined and creamy.

2. Set aside.

Prepare the chocolate topping:

1. Put all ingredients for the chocolate topping in a small bowl and mix until well combined and smooth.

Assemble:

1. Fill 1/3 muffin cup with the chocolate topping.

2. Put in the freezer for approximately 15 – 30 minutes or until hardened then remove from freezer.

3. Fill another 1/3 of the muffin cup with a layer of the pumpkin filling.

4. Put back in the freezer for approximately 15 – 30 minutes or until hardened then remove from freezer.

5. Fill the last 1/3 of the muffin cup with another layer of chocolate topping.

6. Put back in the freezer for approximately 15 – 30 minutes or until hardened.

7. Store in freezer until you are ready to serve.

Enjoy!

Recipe submitted by Karielyn, New Orleans, LA

Submit your recipe here!

Vanilla Bean Coconut Macaroons (Egg and Nut Free)

Vanilla Bean Coconut Macaroons (Egg and Nut Free)

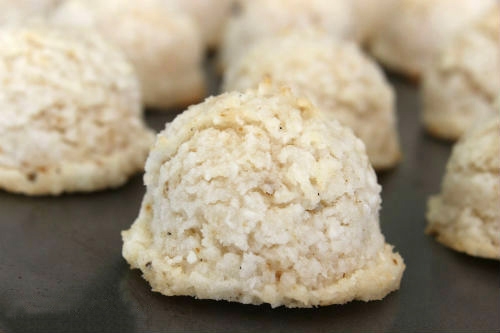
Vanilla Bean Coconut Macaroons Egg and Nut Free Recipe photo
Vanilla Bean Coconut Macaroons Egg and Nut Free Recipe
photo by recipe author

Servings: 20
Preparation Time: 10 minutes

Preheat oven to 350 degrees ºF.

Combine all ingredients in a food processor and blend until a dough forms.

With a small cookie scoop, form macaroons and place on a parchment lined cookie sheet. You could also roll into balls and slightly press them down on cookie sheet.

Bake in preheated oven for about 8 minutes or until very slightly brown.

Let cookies cool to set up, they will fall apart when warm. These can be stored at room temperature or for a harder cookie, store in the refrigerator.

Quick notes

* For the freshest coconut milk make homemade coconut milk. (See video at this link.)

**I have not tried this with a liquid sweetener. You would need to reduce the amount to 1/4 cup or less and it may make the dough too runny. If that happens, just add more coconut until the dough is thick enough to form.

Recipe submitted by Kate, Highlands Ranch, CO

Submit your recipe here!

Coconut Oil Chocolate Peanut Butter Truffles

Coconut Oil Chocolate Peanut Butter Truffles Recipe photo
Coconut Oil Chocolate Peanut Butter Truffles Recipe
photo by author

Servings: 12
Preparation Time: 45 minutes, including freezing

Chocolate:

Filling:

1. Melt coconut oil.

2. Stir in powdered sugar.

3. Whisk in cocoa powder until completely smooth (no lumps!)

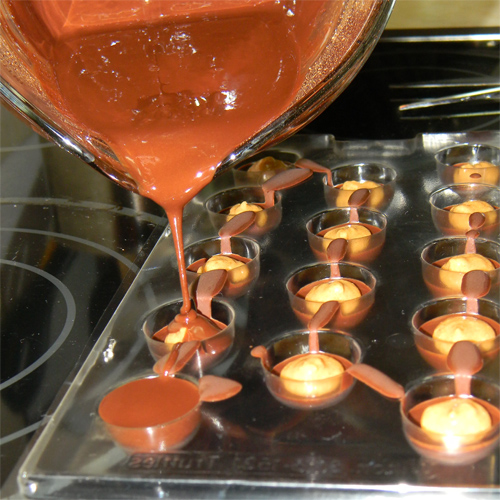
4. Pour chocolate mixture into mold (or small silicone baking cups)

5. Freeze for about 10 minutes. While chocolate hardens, mix peanut butter filling. Melt peanut butter, and stir in brown sugar and vanilla.

6. Place filling into a zip top bag, and cut the tip. Put a small amount (1 teaspoon) into each truffle.

7. Pour the rest of the chocolate on top of the filling (to the top of the mold). Return to freezer for about 30 minutes, or until solid.

8. Remove truffles from the mold. Enjoy!

Notes:

You can experiment with other sweeteners, honey, stevia, maple syrup, but we can’t vouch for the result.

Recipe can easily be doubled for a bigger batch

Submit your recipe here!

Recipe submitted by Stephanie, Santa Clara, CA

Dairy and Gluten Free Pumpkin Pie

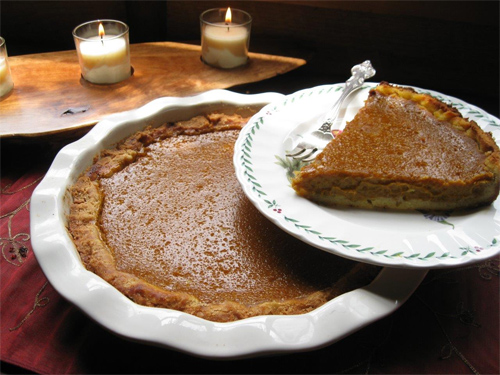
 Dairy and Gluten Free Pumpkin Pie Recipe photo
Dairy and Gluten Free Pumpkin Pie Recipe
photo by recipe author

My 4 year old son loves pumpkin pie so much that I make it often and he eats it even for breakfast!

Servings: 6
Preparation Time: 20-30 minutes

Crust:

Alternate Crust:

Filling:

Preheat oven to 350 degrees F.

Mix crust ingredients in the food processor. This makes a very soft crust, but bakes into an excellent texture. I like to use a spatula to spread the crust into the pie dish.

For the alternate crust recipe, mix all ingredients in the food processor. This is another gluten-free crust option that is soft in texture and will need to be pressed into the pie dish rather than rolled out.

Mix all filling ingredients in food processor till smooth. Pour into the pie shell and bake at 350 for 50-60 minutes. Chill in refrigerator completely before serving.

* For the freshest coconut milk make homemade coconut milk. (See video at this link.)

Recipe submitted by Danielle, Nottinghill, MO

Submit your recipe here!

Goo Goo Clusters – Real Food Candy

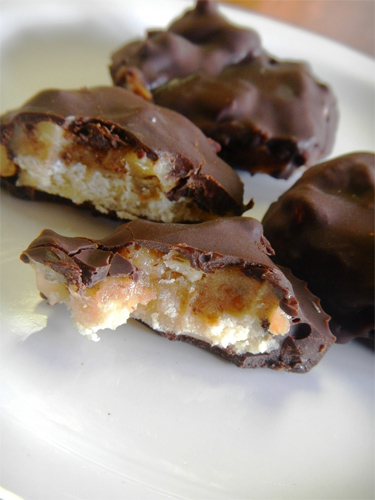
Goo Goo Clusters Recipe photo
Goo Goo Clusters Recipe
photo by recipe author

Preparation Time: 45 minutes
Servings: 12

Chocolate Coating:

Step 1: Line a muffin pan with 12 paper baking cups. Gently melt coconut oil, and stir in cocoa powder and maple syrup. Once melted use a tablespoon to pour 3/4 – 1 tablespoon melted chocolate into the bottom of each paper muffin cup. Put in the freezer to firm up while you make the other layers. Save the remaining chocolate for coating the candies at the end!

Coconut Marshmallow Layer:

Note: This will easily make twice the amount of the coconut layer than you need, but I find it hard to blend only 1/2 a cup coconut properly. Just form coconut macaroon cookies with the remaining batter. OR, you can attempt to make a half batch of this with your food processor.

Step 2: Blend 1 cup dried coconut in your food processor for a one to two minutes until it is finely broken down. Add in maple syrup, coconut oil, vanilla, and salt, and blend for another minute or two. Form little balls of the coconut mixture with your hands and mash down onto the chocolate layer in the muffin cups.

Caramel Gooey Layer:

Step 3: Blend all ingredients for up to 2 minutes until you have a sticky caramel. Spoon on a little bit of the caramel over the coconut layer, then add the nuts below.

Nut Layer:

  • 1/2 cup rough chopped raw walnuts

Push your chopped nuts into the caramel layer, and then spoon over the remaining melted chocolate from above! Put into the freezer for 20 minutes or so. Enjoy!!

These candies should be stored chilled in the freezer or fridge.

Recipe submitted by Andrea, Willamina, OR

Submit your recipe here!

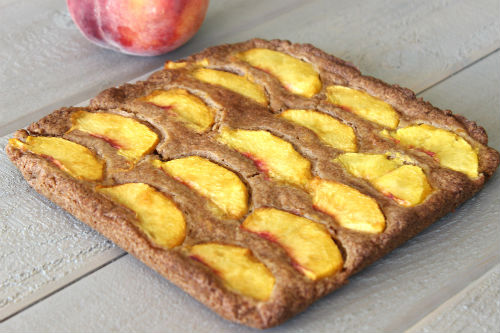
Grain Free Peach Cookie Bars

Grain Free Peach Cookie Bars Recipe photo
Grain Free Peach Cookie Bars Recipe
photo by recipe author

Servings: 8
Preparation Time: 10 minutes

  • 2 cups almond flour*
  • 1/2 cup arrowroot flour
  • 1/4-1/2 cup granulated sugar
  • 1 peach, peeled and sliced (the more unripe the peach is, the better)
  • 2 tablespoons grass-fed butter, softened and cut into pieces or coconut oil
  • 1-2 tablespoons coconut milk**
  • 1 tablespoon vanilla extract
  • 1- 1 1/2 teaspoon cinnamon
  • 1/2 teaspoon baking soda
  • 1/4 teaspoon sea salt

Preheat oven to 350 degrees °F.

Line an 8×8 baking dish with parchment paper, this makes it really easy to get the bars out in one piece.

Place all of the dry ingredients into a food processor and combine.

Add in the butter, vanilla and 1 tablespoon of milk and pulse until a dough forms. The dough should form a ball and be wet, add more milk if needed.

Press the dough into the baking dish until fully covered, then place the peach slices on top of the dough.

Bake at 350 for 32-35 minutes or until the top is golden.

Let cool, remove the bars from the pan by pulling up on the sides of the parchment paper. Cut into desired size bars.

Store in an airtight container. These are great at room temp, but as with all almond flour goodies, I think they are best out of the freezer!!! Let them sit for a minute or two out of freezer to thaw the peach.

Quick notes

*You can grind your own almond flour by placing whole almonds in a blender/food processor and blending until you get a fine meal.

** For the freshest coconut milk make homemade coconut milk. (See video at this link.)

Softened coconut oil should work in place of the butter for those that are dairy free.

Recipe submitted by Kate, Highlands Ranch, CO

Submit your recipe here!

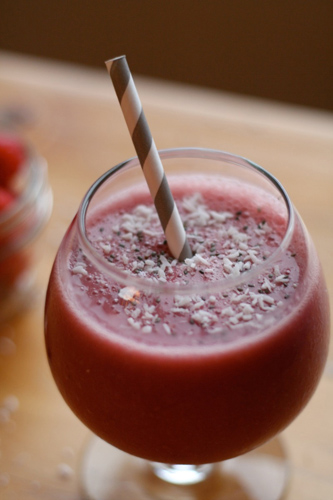
Raspberry Coconut Smoothie

Raspberry Coconut Smoothie Recipe photo
Raspberry Coconut Smoothie Recipe
photo by recipe author

Servings: 2
Preparation Time: 5 minutes

Place all ingredients (except ice) in the blender. Blend on high 1-2 minutes. Add in ice cubes, blend on ‘frozen drinks’ mode or use ice crusher to blend cubes.

Blend until smooth.

* For the freshest coconut milk make homemade coconut milk. (See video at this link.)

Recipe submitted by Emily, Ottawa

Submit your recipe here!

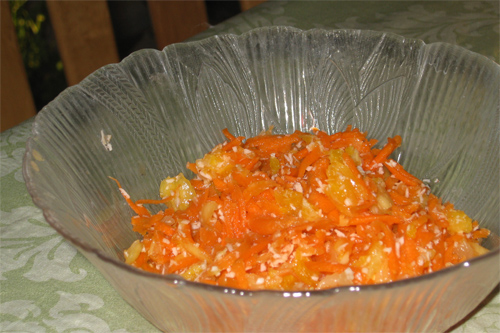
Coconut Carrot Salad

 Coconut Carrot Salad Recipe photo
Coconut Carrot Salad Recipe
photo by recipe author

This is a tropical twist on the standby carrot salad. It can be done by hand, but a food processor makes it very quick; you’ll need the S blade and the shredder attachment. You can add honey for extra sweetness, but unless the carrots are unusually bitter, the fruit should suffice. Adding a slice of pineapple with the orange wouldn’t be amiss, either….

Servings: 6
Preparation Time: 5-10 minutes

1. If a “creamier” salad is desired, put the coconut cream concentrate into the processor first-thing.

2. Add and pulse the peeled orange to a large dice using the S blade.

3. Add the apple and pulse to a medium dice. (Adding the apple to the orange, instead of the other way around, keeps the former from browning.)

4. Carefully remove the S blade, using a spatula to clean it into the processor bowl. Without removing the fruit, swap in the shredder attachment. Shred the carrots on top of the fruit.

5. Transfer the processed ingredients into the serving or storage bowl, and add the coconutm spices and raisins. Use the spatula to mix evenly.

This salad is best left to sit for a while before serving. You could double the recipe and still do it in a single batch, but don’t store it more than a few days; the apples will brown. Not that it’s likely to last that long!

Recipe submitted by Ben, Winchester, VA

Submit your recipe here!