Coconut Desserts & Sweets Recipes

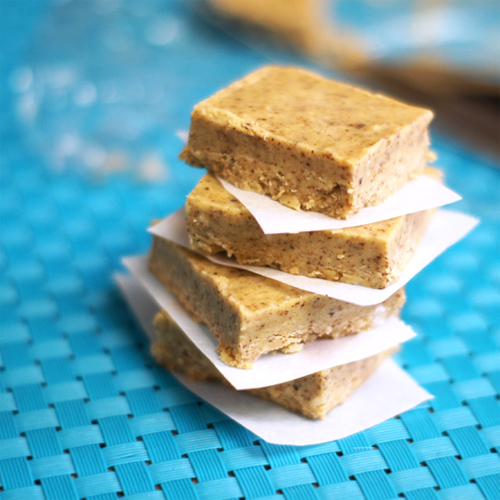
Chocolate Almond Coconut Bars
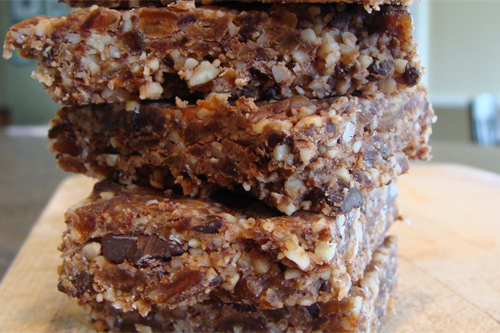
 Chocolate Almond Coconut Bars photo
Chocolate Almond Coconut Bars
photo by recipe author

Servings: 24
Preparation Time: 20 minutes

1. First grind up the almonds and chocolate together until fine– but not too fine.

2. Leave half of the almond-chocolate mixture in the food processor and set the other half aside.

3. Add half a teaspoon of sea salt, 2 cups of dates,1/2 cup shredded coconut and 2 heaping tablespoons of almond butter and process until combined. Transfer into a large bowl.

4. Now process the remaining chocolate-almond mixture, sea salt, dates, coconut and almond butter. Add to the large bowl.

5. Wet your hands, further combine the mixture, and press firmly into a parchment lined 13×9 pan. Let the parchment hang over the ends so that you can lift the bars out.

6. Cover and refrigerate for a few hours or overnight. Lift the bars out of the pan and slice into desired size.

Recipe submitted by Leslie, Amsterdam, NY

Submit your recipe here!

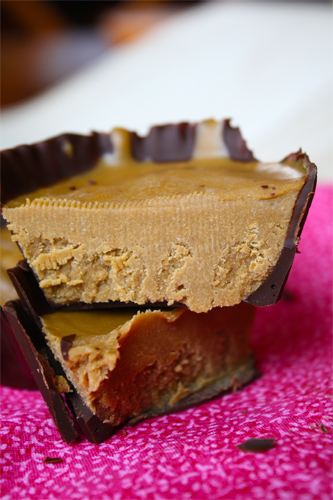
Healthy Nutbutter Cups

 Healthy Nutbutter Cups photo
Healthy Nutbutter Cups
photo by recipe author

Servings: 24
Preparation Time: 20 minutes

Blend all ingredients except chocolate) in a mixer until smooth. Melt the chocolate chips in a double boiler. DO NOT OVER-HEAT THEM…it makes them gritty and tough.

Line a muffin tin (all I had was large paper muffin liners, but these would be perfect in mini muffins too). Pour a tablespoon or so of melted chocolate into the paper liner, and brush the chocolate up the sides, no need to be exact. The chocolate will harden almost instantly as you brush it up the sides. Fill with the nut butter filling, and place in the freezer.

Store under refrigeration or in the freezer! You could always use a zester to put some pretty chocolate curls on top, or a few extra chocolate chips.

Recipe submitted by Tessa, Hillsboro, OR

Submit your recipe here!

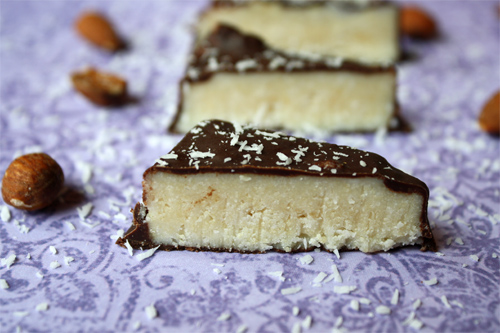
Healthy Mounds or Almond Joy Bars

Healthy Mounds or Almond Joy Bars photo
Healthy Mounds or Almond Joy Bars
photo by recipe author

Servings: 10 large bars
Preparation Time: 20 minutes

Coating:

In a food processor, put the filling ingredients and blend 1-2 minutes until well incorporated and smooth. Taste for sweetness, add more if you like. It is necessary the coconut oil be soft or melted so the mixture blends.

Line an 8 x 8 or similar sized pan with waxed paper or parchment. Pour the mixture in and spread around evenly. If you would like to use almonds, now is the time. Press them in! Place the pan in the fridge or freezer to speed the solidifying process.

Meanwhile, melt your chocolate with the coconut oil. Once solid, lift the whole chunk out by lifting the paper. Cut into desired shapes. Dip each piece in the chocolate, letting the excess drip back before laying it on a silpat, parchment, or waxed paper to solidify. Store in an airtight container on the counter or in the freezer. Unlike most coconut oil delicacies, these are solid at room temp and travel well out of refrigeration.

Recipe submitted by Tessa, Hillsboro, OR

Submit your recipe here!

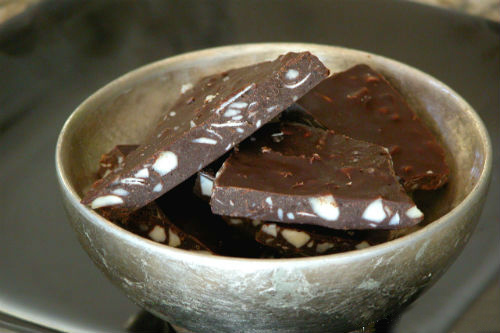
Chocolate Coconut Macadamia Nut Bark

Chocolate Coconut Macadamia Nut Bark photo
Chocolate Coconut Macadamia Nut Bark
photo by recipe author

Servings: 8
Preparation Time: 10 minutes

1. Place a glass mixing bowl over a saucepan of simmering water and add chocolate and coconut oil.

2. Once everything has melted, remove from heat and add in the nuts, coconut and sweetener.

3. Mix well and pour onto a parchment lined cookie sheet.

4. Place in the freezer to set. Once it has hardened, break into pieces.

Quick notes:

If you are using a dry sugar to sweeten, I would “powder” it in a coffee grinder or blender or it will be gritty

Variations:

You could use almonds instead of macadamia nuts.

Recipe submitted by Kate, Highlands Ranch, CO

Submit your recipe here!

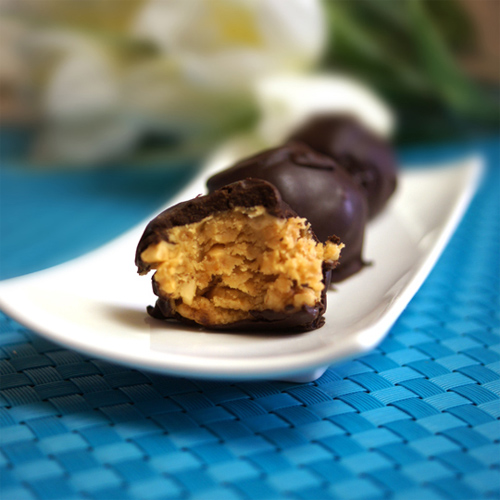
Healthier Peanut Butter Balls

Healthier Peanut Butter Balls photo
Healthier Peanut Butter Balls
photo by recipe author

Servings: 20 pieces
Preparation Time: 1 hour total

For peanut butter filling:

For chocolate coating:

In a medium bowl, mix together the peanut butter, honey and a pinch of sea salt. Add in the coconut flour gradually– starting first with a 1/4 cup, then adding it in a tablespoon at a time until a “dough” forms. I ended up using a 1/2 cup of coconut flour, but it may vary depending on the texture of your peanut butter.

Using a cookie scoop, drop the dough by rounded tablespoons onto a pan lined with parchment paper. (Roll with your hands to make them smooth, if you like.) Place them in the freezer to set for 30 minutes.

After 30 minutes, melt the chocolate together with the coconut oil. (I used an oven-safe bowl– 5 minutes at 400F– but any method works!)

Remove the peanut butter balls from the freezer, and dip each one into the melted chocolate mixture, coating each one thoroughly. Return the chocolate-covered balls to the parchment paper to set. There will inevitably be some areas that won’t get covered (where your fingers touched), so feel free to spoon some extra chocolate over the tops when they’ve all been dipped!

Return the balls to the freezer to set for another 30 minutes, then serve. They are delicious when served cold, or at room temperature!

I recommend storing them in the fridge or freezer for longer shelf-life.

Recipe submitted by Megan, Glendale, CA

Submit your recipe here!

Almond Butter Freezer Fudge

Almond Butter Freezer Fudge photo
Almond Butter Freezer Fudge
photo by recipe author

Servings: Fills an 8″x8″ pan
Preparation Time: 10 minutes + 1 hour chill

  • 2 cups raw creamy almond butter (unsalted)
  • 1/2 cup coconut oil, softened
  • 3 tablespoons raw honey
  • 1 teaspoon fine sea salt

Simply mix all the ingredients together in a medium bowl, until smooth and creamy.

(Tip: It helps if all the ingredients are at room temperature, to keep the coconut oil soft!)

Transfer the mixture to a square baking dish, or container, lined with parchment or wax paper, then smooth with a spatula, and freeze until solid (about an hour). Remove the fudge by lifting the paper out of the pan, then cut into squares and serve immediately.

Due to the nature of coconut oil, this fudge will melt if left at room temperature for long. Store in the freezer for best results!

Recipe submitted by Megan, Glendale, CA

Submit your recipe here!

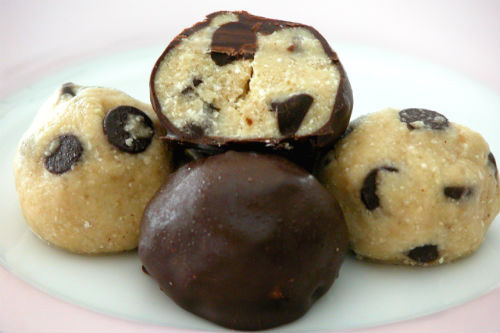
Chocolate Chip Cookie Dough Truffles

Chocolate Chip Cookie Dough Truffles photo
Chocolate Chip Cookie Dough Truffles
photo by recipe author
  • 1 cup almond flour*
  • 1/4 cup vanilla protein powder, or additional almond flour
  • 1/4 teaspoon salt
  • 1/4 cup powdered whole sugar or honey (adjust to taste)
  • 1/4 cup coconut oil, melted (refined for no flavor, virgin for coconut taste)
  • 1 tablespoon coconut milk** (omit if using honey or other liquid sweetener)
  • 1 1/2 teaspoons vanilla extract
  • 1/4 cup dark chocolate chips

Chocolate Coating:

1. Mix flour, protein powder, salt and sweetener in a bowl.

2. In a smaller bowl, mix all wet ingredients and pour into the dry and mix well.

3. Fold in the chocolate chips.

4. Roll into inch sized balls and place on a plate or lined cookie sheet.

5. Place in the freezer for 30 minutes.

Chocolate Coating (optional):

1. In a double boiler or saucepan placed over simmering water, melt the chips and coconut oil.

2. Once melted, remove from heat and dip each ball into the chocolate with a spoon and return to plate or cookie sheet.

3. Place the balls back into the freezer for the chocolate to harden, and store in the fridge or freezer.

*You can grind your own almond flour by placing whole almonds in a blender/food processor and blending until you get a fine meal.

* For the freshest coconut milk make homemade coconut milk. (See video at this link.)

Recipe submitted by Kate, Highlands Ranch, CO

Submit your recipe here!

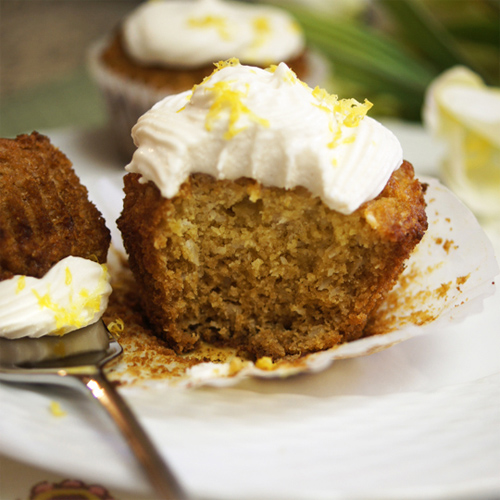
Lemon Coconut Frosting

Lemon Coconut Frosting photo
Lemon Coconut Frosting
photo by recipe author

Servings: 1 cup
Preparation Time: 10 minutes + 6 hrs chill

Combine all ingredients in a blender and blend until thick and creamy, about 1-2 minutes. Transfer to a bowl, and allow to set in the fridge for 6 hours. It will thicken up with chilling!

Note: Measure your coconut flour by scooping the measuring spoon into the bag, then leveling off each tablespoon using a knife. Coconut flour is very absorbent, so you want to make sure you measure it correctly!

Also, don’t be tempted to skip the blender. I’ve tried whisking this mixture together by hand, and it will NOT work.

Spread onto your favorite cakes, or cookies, and enjoy!

Recipe submitted by Megan, Glendale, CA

Submit your recipe here!