Matcha and Coconut Butter Truffles

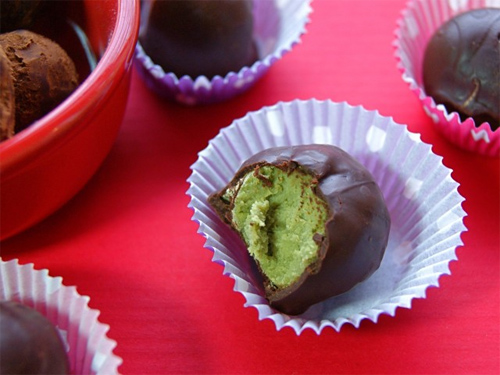
Matcha and Coconut Butter Truffles Recipe photo
Matcha and Coconut Butter Truffles Recipe
photo by recipe author

Servings: 12

Pour the warmed coconut cream concentrate into a medium bowl along with the coconut cream (this is the solid layer on top of coconut milk – just scoop it off and leave the liquid layer behind).

Stir until blended. Add matcha and honey, tasting and adjusting to the level of “sweet” you prefer.

Refrigerate the truffle filling for 15 minutes, or until it is firm enough to roll into balls. Using your hands, roll the filling into small rounds, using about a tablespoon of filling per truffle. If you are going to dust them in cocoa, do this right after rolling and then refrigerate the truffles (I sifted some cocoa with a little powdered stevia, and used that to roll half of the truffles). If you want to dip them into dark chocolate, refrigerate for an hour after rolling so they will be firm enough to dip.

For chocolate-dipped truffles, break up your chocolate and heat gently in a double boiler or low flame until the chocolate is completely melted. Dip the truffles into the chocolate and then place them on waxed paper to cool.

Makes about two dozen small truffles.

* For the freshest coconut milk make homemade coconut milk. (See video at this link.)

Recipe submitted by Angela, Longmont, CO

Submit your recipe here!

No Bake Mini Lemon Coconut Tarts

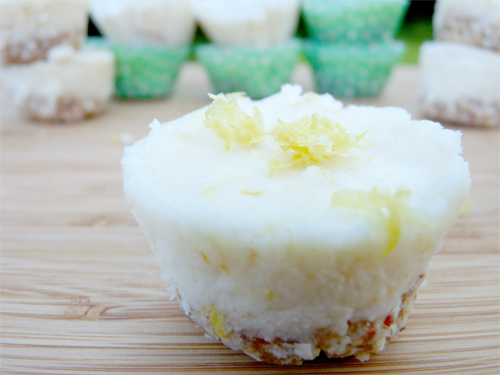
No Bake Mini Lemon Coconut Tarts Recipe photo
No Bake Mini Lemon Coconut Tarts Recipe
photo by recipe author

Servings: 12-15
Preparation Time: 25 minutes

Crust:

Filling:

Line a mini muffin cup with paper liners.

For crust: Process all ingredients about 2-4 minutes until you they stick together. Press about a teaspoon of the mixture into each mini cup to make a crust.

For filling: Process coconut flakes for 10-20 minutes until you get the consistency of coconut butter. Add the rest of the ingredients and process to combine. Scoop mixture into cups (about a tablespoon in each).

Refrigerate tarts for an hour or two until firm. Store in the refrigerator or freezer.

* For the freshest coconut milk make homemade coconut milk. (See video at this link.)

Recipe submitted by Jacqueline, Atlanta, GA

Submit your recipe here!

Apple Pie Bowl

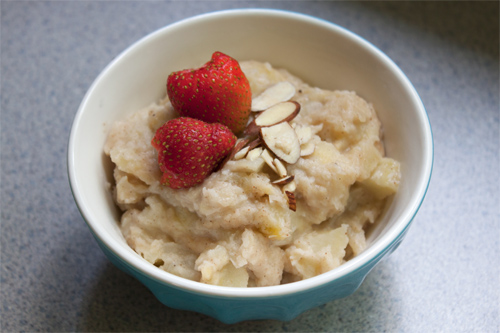
Apple Pie Bowl Recipe photo
Apple Pie Bowl Recipe
photo by recipe author

Servings: 2 large, 4 small
Preparation Time: 5 minutes

Add apple juice (or water for a less sweet version) to a small saucepan and start to boil. Add in rest of ingredients and cover, cooking on medium heat until the mixture starts to melt together, about 1-2 minutes.

The Coconut Cream Concentrate is the secret ingredient that makes this recipe come together and get all gooey – otherwise, it will separate! Continue to cook to your desired thickness.

Can also make without the shredded coconut for a slightly softer version.

Delicious alone or served with chopped nuts and/or fruit on top; I love roasted macadamias – gives a little of that “crust” taste.

Recipe submitted by Cheryle, Alden NY

Submit your recipe here!

Chocolate Covered Coconut Candy Bars

Chocolate Covered Coconut Candy Bars Recipe photo
Chocolate Covered Coconut Candy Bars Recipe
photo by recipe author

Servings: 4
Preparation Time: 20 minutes

Chocolate Covering:

  • 1 1/2 cups organic chocolate chips (dark or milk depending on preference)
  • 1 tablespoon butter

Coconut Bars:

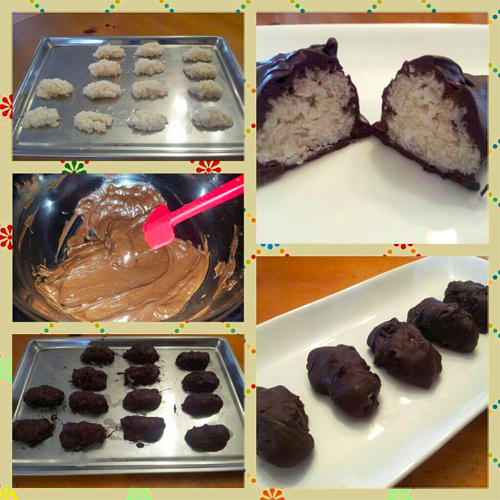
Melt chocolate chips and butter in a double boiler. Stir and melt chocolate over medium heat.

Meanwhile gently melt coconut oil and honey together in a double boiler or stovetop over low heat. Once melted add shredded coconut and stir until combined. Add vanilla.

By now your chocolate should be melted. Remove it from the heat. If you don’t let it cool a bit it will melt your coconut bars when you coat them.

Mold your coconut into small bars and place on a cookie sheet or jellyroll pan (preferably stainless steel) and place in the freezer to harden for about 10-15 minutes. Add an almond to the top before freezing as an alternative.

After the bars have hardened in the freezer, remove them and begin dipping them and coating them in the chocolate one at a time and placing back on the pan. Once they are all coated, place them back in the freezer until the chocolate has hardened. Then they are ready to enjoy!

Recipe submitted by April, Las Vegas, NV

Submit your recipe here!

No Bake Key Lime Pie

No Bake Key Lime Pie Recipe photo
No Bake Key Lime Pie Recipe
photo by recipe author

These mini pies can be kept in the fridge for a couple of days, or in the freezer for weeks. They freeze really well! When they have been stored in the freezer, just be sure to set it out for up to 30 minutes to soften up a bit before serving!

Servings: 6
Preparation Time: 30 minutes

Pie Crust:

Filling:

  • 1 1/2 cups mashed avocado (3 small)
  • 3/4 cup fresh squeezed lime juice (regular limes or key limes)
  • 1/2 cup honey or maple syrup (or use stevia)
  • 1 pinch sea salt
  • 1/2 cup virgin coconut oil – melted
  • zest from 1 lime

Pie Crust Directions:

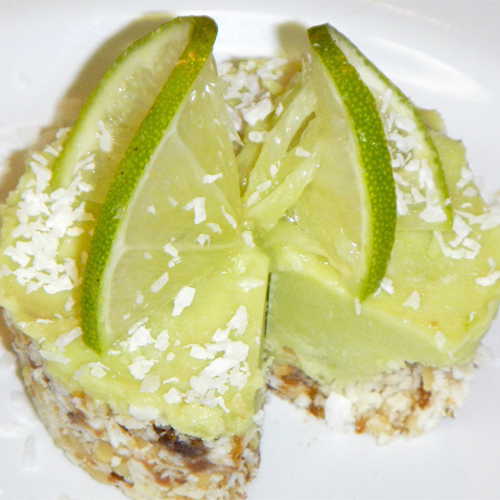
Process all ingredients in a food processor until it can be pinched together and hold.

Push the mixture evenly into the bottom of 6 mini tart pans OR a standard pie pan. Press it firmly and build a crust that climbs the wall of each mold. Put in the freezer for 30 minutes to firm up. Fill with key lime cream from recipe below.

Pie Filling Directions:

Blend everything in a food processor. Taste test and adjust ingredients to your liking. Spoon into pie crust from above. Set in freezer for 30 minutes to 1 hour to firm up.

Recipe submitted by Andrea, Willamina , OR

Submit your recipe here!

Lemon Curd

Lemon Curd Recipe photo
Lemon Curd Recipe
photo by recipe author

Servings: makes 2 cups
Preparation Time: 20 minutes

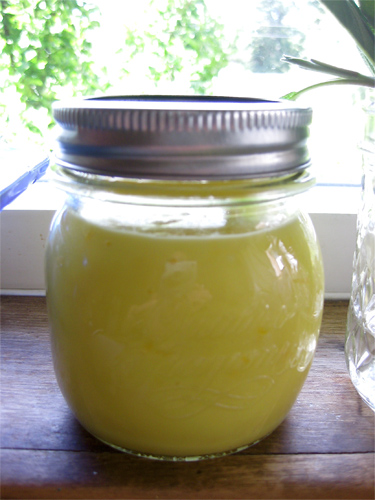
Bring a small pot with 2 inches of water in it to a simmer on the stovetop. In a bowl that will sit nicely over the water, place the eggs, lemon juice, and sugar. Place bowl over simmering water and whisk until nicely thickened (about 10 minutes).

Carefully (it’s hot) remove bowl from pan and place on counter. Add lemon zest and coconut oil. Stir until smooth. Pour into jars, cover, and chill.

Recipe submitted by Karen, Quincy, CA

Submit your recipe here!

Banana-Goji Ice Cream

Banana Goji Ice Cream Recipe photo
Banana Goji Ice Cream Recipe
photo by recipe author

Servings: 4
Preparation Time: 10 minutes

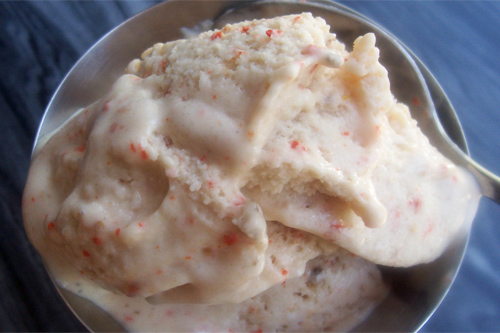
Process the bananas, coconut cream, and protein powder in a food processor until smooth. Pulse in the goji berries. Scoop mixture into a freezer safe container lined with parchment paper if desired. Freeze to desired, yet scoopable consistency.

Serve with homemade hot fudge and sprinkle with additional goji berries and/or chocolate chips or coconut to serve.

Recipe submitted by Charlene, Wareham, MA

Submit your recipe here!

Gluten Free Fried Green Tomatoes

Gluten Free Fried Green Tomatoes Recipe photo
Gluten Free Fried Green Tomatoes Recipe
photo by recipe author

Servings: 4
Preparation Time: 15 minutes

Combine the first four ingredients in a shallow bowl. Dip the tomato slices in the beaten egg, then into the coconut flour mixture.

Heat a skillet for about 5 minutes over medium-high heat. Add the oil. Fry tomato slices till light brown, about 2 to 3 minutes on each side. Serve immediately.

Recipe submitted by Melodie, Fort Mill, SC

Submit your recipe here!