Coconut Oil

How To Use Coconut Flour

Tips and Tricks on Getting that Coconut Flour Recipe Just Right
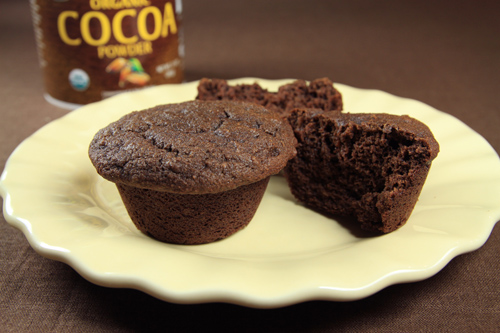
Coconut Flour Cocoa Banana Muffins Recipe photo

Coconut Flour Cocoa Banana Muffins

Coconut flour is the fiber from the coconut meat after almost all the oil has been extracted to make coconut oil. Being gluten free makes coconut flour a suitable wheat flour substitute for those with gluten and wheat allergies. It is also high in protein and fiber, containing more fiber than gluten-based grains.

Coconut flour is a very finicky product to work with. When adapting a recipe to coconut flour keep in mind that:

1/2 cup coconut flour needs 1-3 eggs.
1 cup wheat flour is the equivalent of 1/3 – 1/2 cup coconut flour.
Coconut flour requires about twice as much hydration as wheat.
1:1 wheat to coconut flour ratios will never work!
Sticky binders are a good thing.
Never pack the flour into your measuring device (and break up any clumps).

For recipes that use liquids, you’ll probably end up at least doubling the amount originally called for. To be safe though, start out with the original amount called for and add more as needed. Other ingredients that work well for hydration are products like sour cream and yogurt.

For flour ratios, start out with about a quarter of the amount of coconut flour for regular flour (playing it safe is key), making sure to use the proper amount of eggs and liquid for saturation. Don’t be afraid to mix your batters very well. Since there is no gluten there is no danger of the final product becoming too hard as a result of over mixing.

Besides eggs, other things to help with binding include sticky sweeteners like honey and maple syrup. Flax, chia, guar gum and xanthan gum can also be very helpful as they develop an egg-like consistency when mixed with liquid. 1 tablespoon of ground flax seeds soaked in 3 tablespoons of water can replace 1 egg, and just a little bit of the gums can add an extra binding element that mimics gluten, adding a stronger “bite texture” to baked goods.

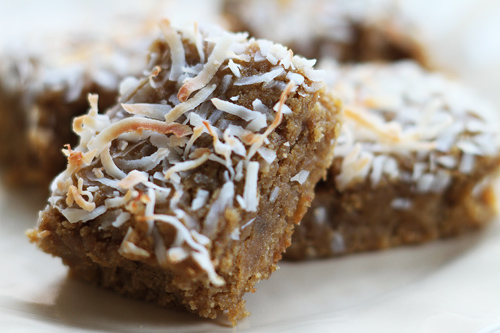
Gluten Free Toasted Coconut Ginger Blondies

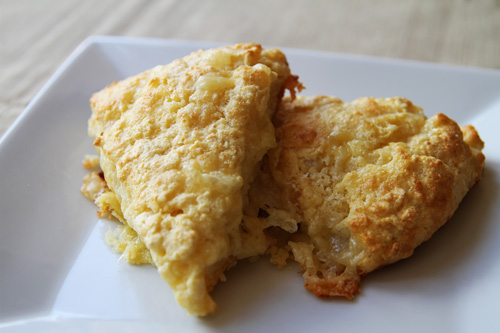
Coconut flour can also be easily mixed with other flours. These Gluten Free Toasted Coconut Ginger Blondies use a blend of gluten free flours including coconut flour, and the Savory Cheese Scones use a bit of coconut flour for added coconut flavor and fiber. For wheat flour, you can substitute anywhere from 10 – 30% of regular flour for coconut flour. Gluten free flour mixes will vary greatly but always keep in mind how concentrated coconut flour acts.

A lot of recipes containing wheat flour can be converted to 100% coconut flour, but this will take time and practice. Coconut flour behaves differently from recipe to recipe, so a lot of tweaking and adjusting will have to be done. All my coconut flour recipes have been made with Tropical Traditions organic coconut flour; therefore I cannot assure you that they will work with different coconut flours, which might be higher in fiber and lower in protein content.

Savory Cheese Scones with Coconut Flour

Common problems:

Coconut flour made my batter/final product dry and crumbly! WHY?

You used too much flour and too little liquid. Always start out with a small amount of coconut flour – you’d be surprised at how greedy this product is and will expand when it comes into contact with liquids.

Coconut flour requires way too many eggs.

Not true. The issue here is that eggs are a great binder, mimicking what coconut flour lacks: gluten. However, the solution is simple if you want to reduce the amount of eggs: fewer eggs, more of a hydrating ingredient plus a sticky binder if needed (see suggestions above).

Coconut flour makes everything dense.

Not true either. Use the right amount of flour to liquid/wet ingredient ratio and you’ll be enjoying very light and fluffy coconut flour goodies. Take a bite of these Coconut Flour Cocoa Banana Muffins and you’ll be convinced.

Coconut flour can definitely be a very tricky product to work with, but with some time and the right ingredients the results will be well worth it!

By Sarah Shilhavy, photos by Jeremiah Shilhavy

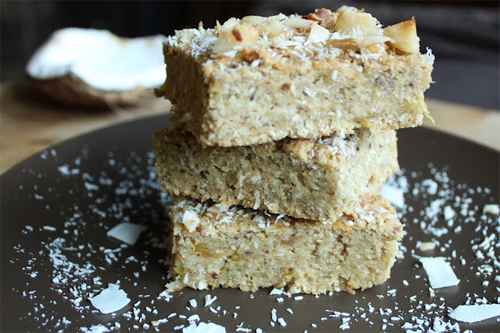
Pineapple, Mango and Coconut Tropical Bars

Pineapple, Mango and Coconut Tropical Bars Recipe photo
Pineapple, Mango and Coconut Tropical Bars Recipe
photo by recipe author

Servings: 12
Preparation Time: 60 minutes

For the cake:

For the topping:

Preheat oven to 350 F.

Put quinoa flakes in a food processor or blender. Puree slightly. I like to leave some chunks and not blend into a fine flour. I find it gives the cake more texture.

In a large bowl, combine the quinoa flakes, flours, baking powder, baking soda and sugar.

In the same food processor or blender, combine the pineapple and mango, and blend until smooth.

Add the pineapple and mango, along with the flax egg, applesauce, water, coconut extract and shredded coconut to the flour mixture. Mix until just combined.

Pour the mixture into an 8×8 lightly greased or sprayed baking pan. Smooth the top.

Sprinkle all the topping ingredients on top.

Bake for 40-45 minutes, or until edges become slightly brown and the coconut is toasted on top.

Allow to cool for at least 30 minutes. Cut into 12 square bars.

Recipe submitted by Shelby, Orangevale, CA

Submit your recipe here!

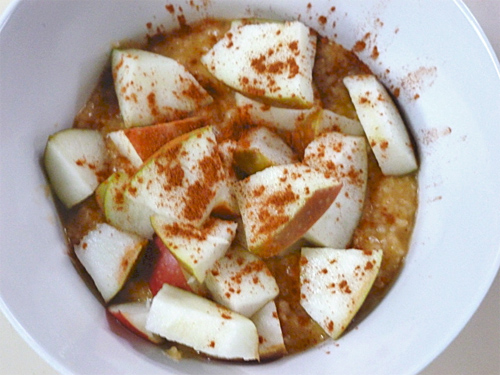
Creamy Fall Oats

Creamy Fall Oats photo
Creamy Fall Oats
photo by recipe author

Servings: 2
Preparation Time: 10 – 12 minutes

Mix the oats and water in a medium saucepan over high heat. Cover. Bring to a boil, and then reduce heat to simmer and cook oats for 5 or 6 minutes. Remove from heat and let sit for another 3 or 4 minutes.

Remove lid and stir in pumpkin, coconut oil, and honey. Spoon oats into serving bowls.

Cut apple into small chunks and divide between 2 bowls of oats and then sprinkle each with cinnamon.

Recipe submitted by Elle, Victoria

Submit your recipe here!

How to Add Coconut Oil to Smoothies without the Oil Clumping

Sometimes you just need a really, really quick breakfast. Other days you don’t want any at all. Or you may be starving but have absolutely no time to make a big breakfast because you overslept and the day is wasting away.

Whatever.

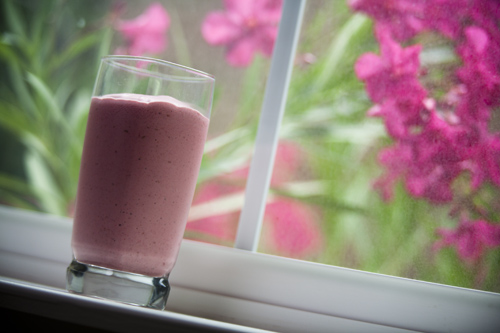
The point is, this smoothie makes a great breakfast. It’s creamy, fruity, a great energy booster (thanks to the coconut oil), and very filling. It’s pretty much the perfect and quickest breakfast you’ll be able to put together in under 5 minutes. It’s best if you do the soak overnight option, but either way is great.

Oh, and yes, there are raw rolled oats in here. Don’t fear them. They make the smoothie so filing and add such a nice texture.

How to Avoid Clumping When Adding Coconut Oil to a Smoothie

You don’t have to worry about coconut oil clumping in your cold smoothie if it is done correctly. True, coconut oil does solidify when cold, and just might form stubborn little clumps when added to cold drinks, but you just need to outsmart it. It’s actually very simple, as the video will show you. All you do is melt the oil (gently, making sure it isn’t hot, as warm smoothies aren’t very nice) and while the blender is whirling your delicious smoothie into a creamy goodness, slowly pour in the coconut oil in a steady stream. The oil will disappear into your drink and leave you with a wonderful coconutty taste and creamy froth to top it off.

Sound good? It is. Try it for your next breakfast.

Enjoy!

Sarah

Raspberries & Cream Breakfast Smoothie Recipe

 Raspberries and Cream Breakfast Smoothie photo
Raspberries and Cream Breakfast Smoothie
Prepared by Sarah Shilhavy, Photo by Jeremiah Shilhavy

This smoothie is rich, creamy, fruity and very filling. The natural energy boosting properties of coconut oil make it the perfect way to start your day!

Servings: 1
Preparation Time: 5 minutes

Combine all ingredients except raspberries and coconut oil and let soak for 1 hour or up to overnight.

Place all ingredients except coconut oil into a blender and blend until smooth while pouring coconut oil into blender in a steady stream.

Pour into a glass and enjoy!

Recipe courtesy Sarah Shilhavy

Submit your recipe here!

Dairy Free Coconut Pie

Dairy Free Coconut Pie photo
Dairy Free Coconut Pie
photo by recipe author

Servings: 10-12
Preparation Time: 1 hour 30 minutes

Dairy Free Whole Wheat Crust:

Coconut Pie Filling:

Crust Directions:

Mix dry ingredients together: flours, sugar, and salt. Add coconut oil. Use a pastry cutter to cut the oil into the dry ingredients. Add coconut milk a little at a time (you may not need any at all). Turn on a floured surface and knead several times. Roll dough into a 9 inch circle and transfer to a pie plate, using fingers to shape dough as needed.

Pie Filling Directions:

Preheat oven to 350 degrees F.

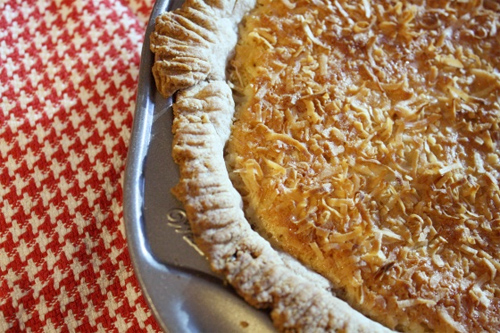
Mix together sugar and eggs. Add oil and flour and mix well. Add coconut milk and fold in 1 cup coconut. Add vanilla and mix well. Sprinkle remaining coconut on top of the pie. Pour into your whole wheat pie crust.

Bake in preheated oven for 50-55 minutes.

* For the freshest coconut milk make homemade coconut milk. (See video at this link.)

Recipe submitted by Kelly, Charlotte, NC

Submit your recipe here!

Chocolate Almond Granola

Chocolate Almond Granola photo
Chocolate Almond Granola
photo by recipe author

Servings: 8
Preparation Time: 10 minutes

Preheat oven to 325 degrees F.

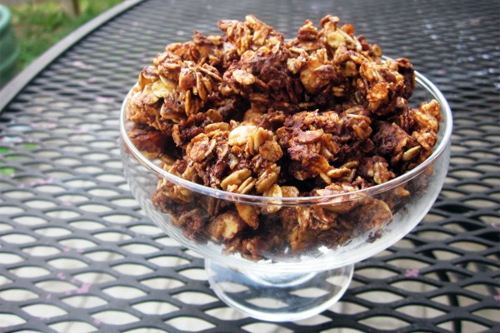
Combine the brown rice syrup, oil, almond butter and vanilla in a large bowl until well mixed. Fold in the oats and add the rest of the ingredients stirring to coat.

Once mixture is well combined pour onto a lined baking sheet and bake for 22 minutes in preheated oven, stirring once. Let cool and enjoy!

Recipe submitted by Kate, Lexington, KY

Submit your recipe here!

Raspberries & Cream Breakfast Smoothie

 Raspberries and Cream Breakfast Smoothie photo
Raspberries and Cream Breakfast Smoothie
Prepared by Sarah Shilhavy, Photo by Jeremiah Shilhavy

This smoothie is rich, creamy, fruity and very filling. The natural energy boosting properties of coconut oil make it the perfect way to start your day!

Servings: 1
Preparation Time: 5 minutes

Combine all ingredients except raspberries and coconut oil and let soak for 1 hour or up to overnight.

Place all ingredients except coconut oil into a blender and blend until smooth while pouring coconut oil into blender in a steady stream.

Pour into a glass and enjoy!

Recipe courtesy Sarah Shilhavy

Submit your recipe here!

Homemade Peanut Butter Cups

Homemade Peanut Butter Cups photo
Homemade Peanut Butter Cups
photo by recipe author

Servings: 25
Preparation Time: 5 minutes

Line a cupcake pan with cupcake liners

Mix peanut butter, honey, oat flour and coconut flour until it forms a dough-like consistency. Add more peanut butter or flour to get the right consistency. Roll into balls and then flatten them out to put in the middle of your chocolate later.

Melt chocolate with coconut oil.

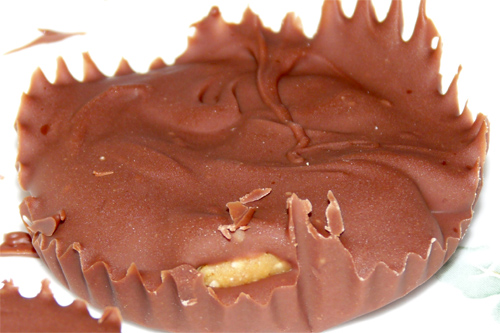
Once chocolate is melted place enough chocolate in the bottom of the cupcake liner and then place your flattened peanut butter mixture and then top with chocolate. Continue doing this until all flattened peanut butter is gone. Makes about 25 cups.

Store these in the freezer and then when you are ready to eat pull them out and let come to room temperature or eat frozen like our family does.

Recipe submitted by Melissa, Mitchell, SD

Submit your recipe here!