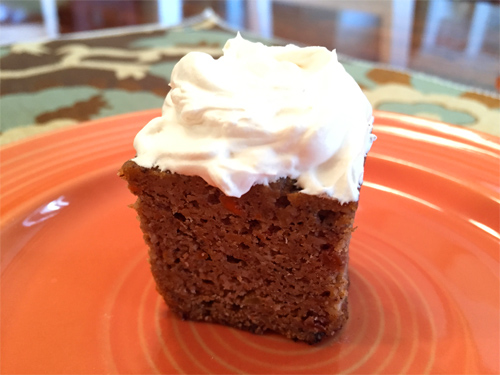
Gluten Free Coconut Cinnamon Roll Cake

Gluten Free Coconut Cinnamon Roll Cake
Servings: 24
Preparation Time: 20 minutes
BATTER
- 1 1/2 cups sorghum flour
- 1 1/4 cups tapioca flour
- 1/4 cup coconut flour
- 1/2 teaspoon salt
- 4 teaspoons baking powder
- 1/2 cup honey
- 1 1/2 cups milk
- 2 eggs
- 2 teaspoons vanilla extract
- 1/2 cup melted virgin coconut oil
TOPPING
- 1 cup butter
- 1/2 cup honey
- 1 teaspoon coconut flour
- 2 tablespoons cinnamon
GLAZE
- 2 teaspoons vanilla extract
- 4 tablespoons butter, softened
- 4 tablespoons soft virgin coconut oil, softened
- 2 tablespoons honey
- pinch salt
Preheat the oven to 350 degrees ºF. Generously butter a 9×13″ pan.
Prepare the batter by combining the flours, salt, and baking powder in a large mixing bowl. Make a well in these ingredients and add in the honey, milk, eggs, and vanilla extract. Whisk these together and slowly begin incorporating the surrounding dry ingredients. When these are partially mixed together, pour in the melted coconut oil. Stir together just until combined. Scrape the batter out into prepared 9×13″ pan.
Prepare the topping by combining the butter and honey together in a small saucepan. Put this over low heat and allow them to melt together. Remove from heat and stir in coconut flour and cinnamon.
Scoop the topping on top of the batter into even piles and then use a butter knife to swirl this roughly into the batter. This will be a little messy and may not swirl perfectly but it will all incorporate during baking.
Place cake in oven and bake for 30-35 minutes, or until center is just barely set when a toothpick or knife is inserted.
Remove and allow to cool to room temperature.
Prepare glaze by creaming together all ingredients with a fork. Spread this thinly over cake. Slice and serve.
Shannon from Santa Anna, TX just won $50 for this recipe and photo! Submit yours here.