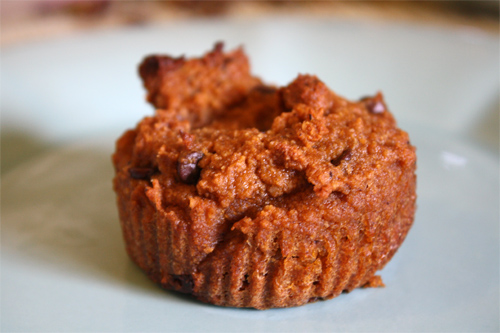
Chunky-Monkey Pumpkin Muffins

Chunky-Monkey Pumpkin Muffins Recipe photo
Chunky-Monkey Pumpkin Muffins
photo by recipe author

Servings: 48-60 Muffins
Preparation Time: 20 minutes

You may say, “Whoa! That’s a lot of muffins!” but I say, “Who wants to store ½ a can of pumpkin? These high protein, GF, dairy-free, DELICIOUS, moist, kid-approved muffins are GREAT for breakfast, snacks, dessert, or dinner rolls. They store well in the fridge for days, and reheat well in the toaster oven. You can also store them on the counter for a couple of days! I’m sure they’d freeze well, though I haven’t tried that- they don’t last long enough! Lastly, you can keep the prepared batter for up to two days in the fridge and make a smaller amount of muffins fresh daily- pumpkin muffins one day, and chocolatey chunky-monkey delights the next!

Optional Chunky-Monkey Indulgences:

Preheat oven to 350 degrees ºF.

Place all of the dry ingredients into a standing mixer and blend thoroughly.

Place bananas, pumpkin and eggs into a blender and blend thoroughly. Melt coconut oil and honey together in a small pan. Add to the blender and blend thoroughly. Add the wet ingredients from the blender to the mixer and mix all ingredients together thoroughly.

These muffins taste like Fall muffins as is, but they taste like chocolate delights when you add some of the Optional Chunky-Monkey goodies!! Once whatever you want is mixed all up, use a large eating spoon and place heaping spoonfuls into large muffin baking cups.

Bake in preheated oven for 30 minutes. Remove and place on cooling rack to cool and store, or eat right away with some grass-fed butter!

Tips:

*If you want to lower the sugar, sub more bananas for the amount of honey you want to replace.

The best bananas to use are those that have really gotten spotted! When they get to that point and you’re not ready to use them YET, you can peel them, place them into a baggie and put them into either the freezer or fridge. In the fridge, they can last up to 4 or 5 days! The sugary liquid will separate, but they are still fine to bake with! In the freezer, they can be used for awesome banana ice cream!

Tamara from Spring, TX just won $50 for this recipe and photo!
Submit yours here.

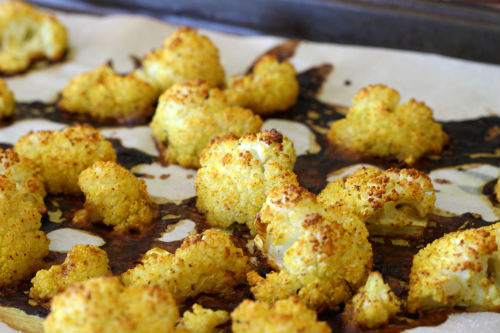
Coconut Curry Cauliflower

Coconut Curry Cauliflower Recipe photo
Coconut Curry Cauliflower
photo by recipe author

Servings: 4
Preparation Time: 10 minutes

  • 1/2 cup full fat coconut milk (the thicker the better)*
  • 1 1/2 teaspoons (or more) curry spice blend
  • 1 head of cauliflower, cut into pieces
  • sea
    salt, to taste

Preheat oven to 425 degrees ºF.

Whisk together the coconut milk and curry powder in a bowl.

Place 1/3 of the cauliflower pieces in the milk mixture and coat. Place the cauliflower onto a parchment lined cookie sheet and repeat the process with the remaining cauliflower. Pour the remaining milk over top and sprinkle with sea salt.

Bake in preheated oven for about 25 minutes or until the cauliflower starts to brown. Serve hot.

* For the freshest coconut milk make
homemade coconut milk. (See video at this
link.)

Kate from Highlands Ranch, CO just won $50 for this recipe and photo!
Submit yours here.

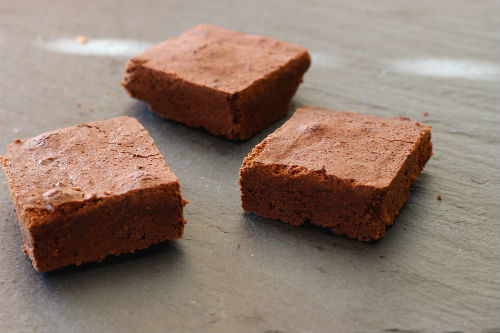
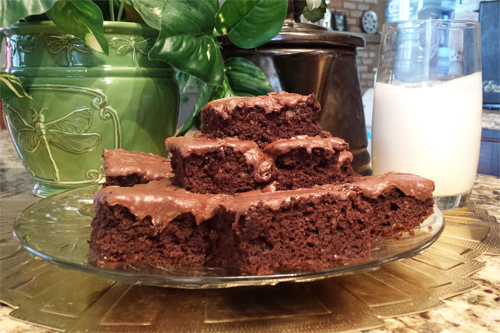
Gluten Free Coconut Cake Brownies

Gluten Free Coconut Cake Brownies Recipe photo
Gluten Free Coconut Cake Brownies
photo by recipe author

Servings: 8
Preparation Time: 15 minutes

Preheat oven to 375 degrees ºF.

In small mixing bowl mix together the first six ingredients.

In larger separate mixing bowl, blend together the next six ingredients.

Pour first mixture into second mixture and blend together. Spread into 8×11 glass cake dish oiled with coconut oil.

Bake in preheated oven for 35-40 minutes or until toothpick comes out clean. When cooled frost with a simple frosting of powdered sugar, cocoa, and coconut milk, if desired.

* For the freshest coconut milk make
homemade coconut milk. (See video at this
link.)

Crystal from Las Vegas, NV just won $50 for this recipe and photo!
Submit yours here.
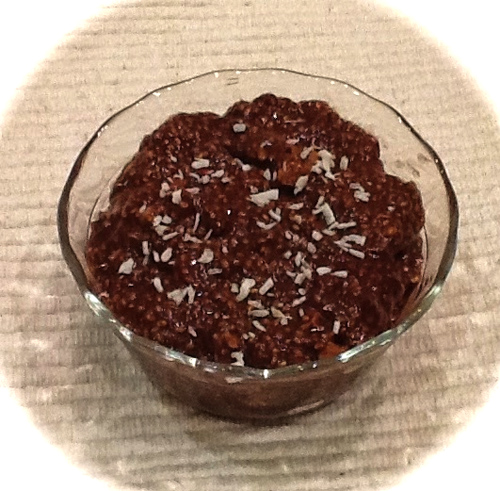
Chocolate Coconut Peanut Butter Banana Chia Seed Pudding

Chocolate Coconut Peanut Butter Banana Chia Seed Pudding photo
Chocolate Coconut Peanut Butter Banana Chia Seed Pudding
photo by recipe author

Servings: 4
Preparation Time: 10 minutes

  • 1 and 1/3 cups almond milk (or milk of choice)
  • 1/3 cup chia Seeds
  • 2 tablespoons unsweetened
    shredded coconut
  • 1/2 very ripe banana, mashed
  • 1 tablespoon unsweetened
    cocoa powder
  • 1 tablespoon
    maple syrup
  • 2 tablespoons natural peanut butter

Put all the ingredients into a glass jar with tight fitting lid and stir or shake until well combined.

Refrigerate for a few hours or overnight (shake or stir occasionally).

Sprinkle extra coconut on top!

Denise from Wake Forest, NC just won $50 for this recipe and photo!
Submit yours here.
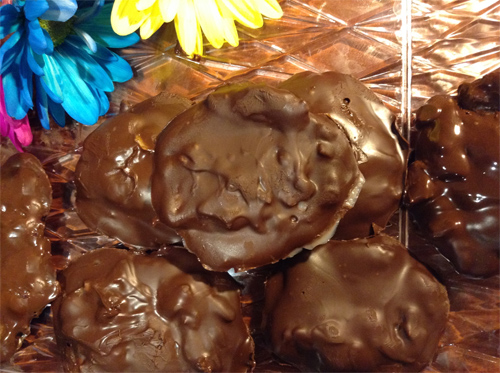
Chocolate Dipped Raw Honey-Almond Chews

Chocolate Dipped Raw Honey Almond Chews photo
Chocolate Dipped Raw Honey-Almond Chews
photo by recipe author

Servings: 8-12
Preparation Time: 10 minutes

Melt 2 teaspoons coconut oil, in medium sized pan. Add honey, coconut flakes, almond slices, salt and extract, heat over medium heat for about two minutes.

Drop by teaspoonfuls (for 12) or tablespoonfuls (for 8) on a cookie sheet lined with parchment paper (I added a small amount of palm shortening to insure that the candies would not stick). Cool completely (I put mine in the fridge to speed up the process).

Meanwhile, melt the chocolate chips low heat just until melted. Add coconut oil and continue heating just until everything is melted.

Dip cooled candies into the chocolate and place back onto parchment-lined cookie sheet. Cool completely (works well to place them in fridge), and enjoy!

Rachel from Ontario, CA just won $50 for this recipe and photo!
Submit yours here.
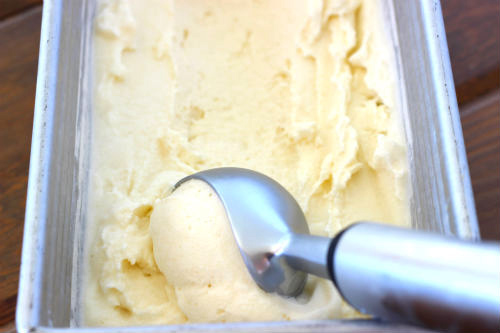
Coconut Milk Lemon Gelato

Coconut Milk Lemon Gelato photo
Coconut Milk Lemon Gelato
photo by recipe author

Servings: 4
Preparation Time: 30 minutes

  • 14 oz + 1 cup full fat coconut milk*
  • 4
    egg yolks
  • 1/2-3/4 cup granulated sugar
  • 3/4 cup fresh lemon juice (2-3 lemons)
  • 2 heaping tablespoons grated lemon peel

Whisk the egg yolks and set aside.

Combine the milks and sweetener in a heavy saucepan over medium high heat and bring to a simmer. Once the milk is simmering, reduce the heat to low.

Slowly whisk about a ladle full of milk into the egg yolks, whisking the entire time. Slowly add the egg yolk mixture back into the warm pan, whisking the entire time. Add the lemon peel at this time.

Continue cooking the mixture on low and stirring until it thickens up, coats the back of a spoon. Remove from heat and stir in the lemon juice. Strain the mixture to remove any seeds and the lemon peel.

Place in the fridge or freezer to cool. Once cooled, run thru an ice cream maker or freeze it in a loaf pan or use the zip lock method.

Notes:
Zip lock method – simply pour the mixture into a zip lock bag and freeze. When you are ready to serve the gelato, place the frozen mixture into a blender and blend until smooth!

*For the freshest coconut milk make
homemade coconut milk. (See video at this
link.)

Kate from Highlands Ranch, CO just won $50 for this recipe and photo!
Submit yours here.
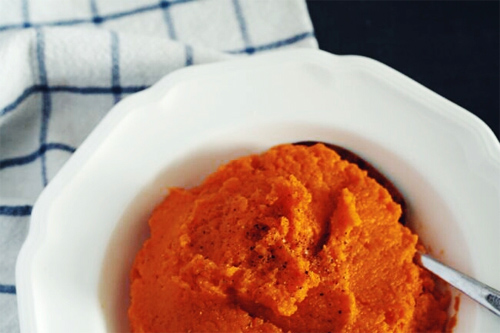
Maple Whipped Sweet Potatoes

Maple Whipped Sweet Potatoes Recipe photo
Maple Whipped Sweet Potatoes
photo by recipe author

Servings: 8
Preparation Time: 15 minutes

Preheat oven to 400 degrees ºF.

Prick sweet potatoes all over with a fork. Place on a rimmed baking sheet.

Bake until very tender, approximately an hour.

When cool enough to handle, halve sweet potatoes. With a spoon, scoop out flesh (discard skins); transfer to a food processor or whip by hand. Add virgin coconut oil and pure syrup; process until smooth. Season with salt and freshly ground pepper.

Serve warm and enjoy!

Emily from Ottawa just won $50 for this recipe and photo!
Submit yours here.
Dairy Free Cinnamon Baking Chips with Coconut Cream Concentrate

Dairy Free Cinnamon Baking Chips with Coconut Cream Concentrate Recipe photo
Dairy Free Cinnamon Baking Chips Recipe with Coconut Cream Concentrate
photo by recipe author

Servings: approx. 2 cups
Preparation Time: 10 minutes

Stir all of the ingredients together. Continue stirring until the mixture starts to cool down enough to thicken. At this point, spoon it into a pasty bag fitted with a round tip or a plastic bag with a small hole cut into one corner. Twist down the top until the mixture starts to come out, and then press it out in small dots onto aluminum foil or waxed paper. Let the chips cool completely before use.

Angela from Longmont, CO just won $50 for this recipe and photo!
Submit yours here.